
Texas Crutch, Cheating, whatever you call it – chances are, if you’re into smoking meat and the process of converting tough cuts of meat from shwag into nuggets, you are intimate with Aluminum foil. I get the huge bastard roll of heavy duty aluminum wrap from BJ’s and that will usually last me a year. I’m actually currently out of the big bastard roll – but I’m tight on cash, so I’m using normal size, normal thickness aluminum foil for a few weeks.
Another thing you might do if you’re tight on cash, is buy up shabbier cuts of meat than you usually work with, so you can get your meat coma fix. Save-a-lot had some screaming deals this week, one of which was $0.99/lb loin ends – I’m no stranger to smoking up loin ends, but I specifically go for the rib end rather than the sirloin end, because while the sirloin end does have the tenderloin in it, it usually comes out pretty dry.
You DO know the anatomy of a pork loin right? Oh Gurrrrl we’re going to give you a quick lesson.
Behold, the ‘whole’ pork loin: (not to be confused with, but closely related to the ‘boneless pork loin’ you get in a vacuum packed bag for $15-20 )
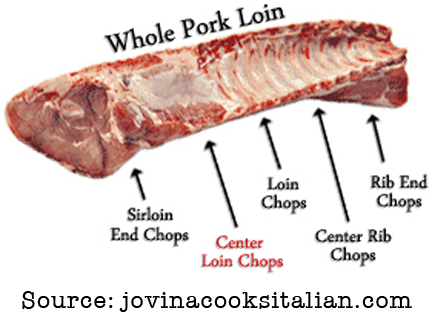
If you buy a whole one of these, you’ll get it for a screaming deal – under $2 a pound, and your butcher can do a variety of things to it. Most people just cut it up into chops, but if you’re a stickler for a good, quality pork chop, you want your chops from the middle 3 sections listed above – here’s what they look like in chop form:
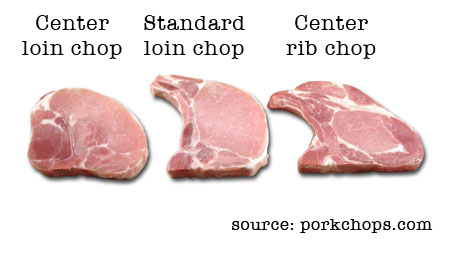
Center Rib chops have a little more fat content, therefor can be a little more flavorful – they’re the ‘Delmonico’ of the loin. Standard Loin chops are great – especially when cut thick and marinated and grilled – delicious. Loin chops – now you’re getting into something special – the ‘Porterhouse’ of the pork family. You get a nice clean loin section, and a killer chunk of tenderloin! You know what tenderloin is, it’s a piece of meat you really have to TRY to mess up. Very little can go wrong when you cook this cut of meat.
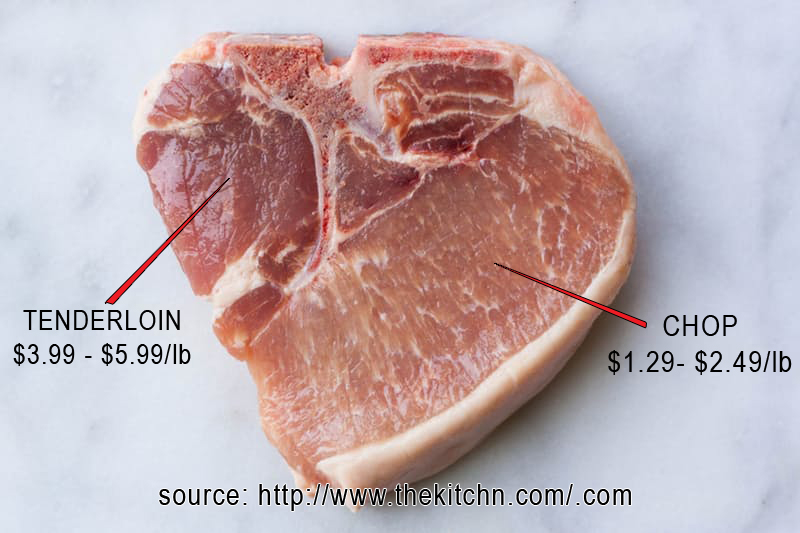
Here’s a closer look, with pricing if you were to buy boneless versions.
So, we go back to our full bone-in loin diagram:
After you cut the center chops, you’re left with two end sections. These end sections are what I mean when I’m referring to ‘Loin Ends’. They are usually sold for under $2 a pound as one piece for you to sort out. If you’re trying to make pulled pork, you’d want a rib end because of the higher fat content, if you want roast pork, go for the sirloin end – you’ll get that tenderloin portion – you can give that to your significant other, and they’ll love you, while you eat the semi dry portion. There are plenty of other uses for these loin end roasts, have fun with it.
Why am I droning on about this?
BECAUSE I GOT SCREWED!!
Save-a-Lot SCREWED ME!
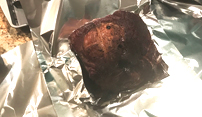
The problem with pre-packaged meat, is that you don’t have the luxury of seeing the entire piece of meat you’re buying. I’ve purchased prepacked meat in the past that had a giant piece of fat under it that added an easy quarter pound to the weight of my package. I’ve purchased prepacked meat where the other side of the meat had a huge veiny anomaly on the other side, that had to be cut out – ruining the cut of meat. I’ve gotten stew meat where the top pieces looked good, and the bottom looked like garbage – but this is the first time I’ve ever seen this:
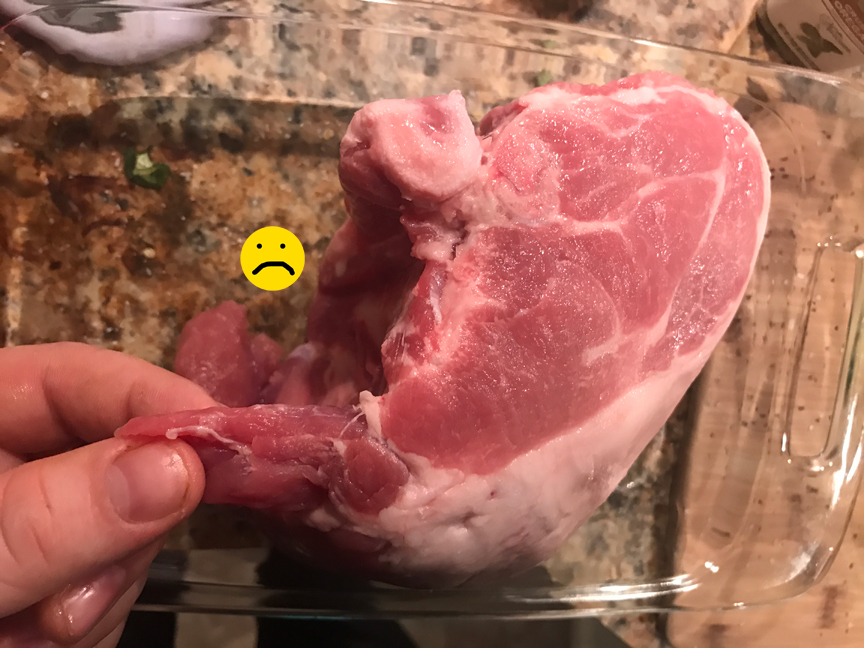
That’s right, I purchased what I thought was a rib loin end, based on the thickness and shape – all I saw was the fat side, and grabbed 3 of them ($3-4 each!) – turns out all 3 were sirloin ends! That wouldn’t have been so bad if the TENDERLOINS hadn’t been HARVESTED!!! DAMMIT! WHO DOES THAT!? It wasn’t even a clean execution – I was left with a ragged, flappy bullshit piece! So disappointed. I will have to do a better inspection on the meats I purchase!
Ok – now that that’s over – back to the aluminum.
Texas Crutch, Cheating, Tenting, 3-2-1 method – if you’re running a smoker, you’re intimate with aluminum foil – period.
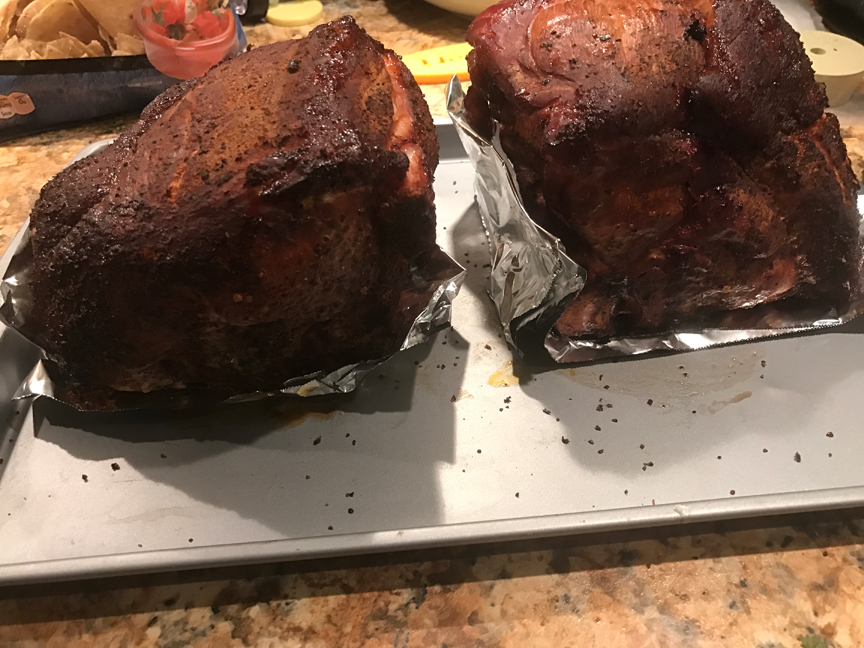
Say you end up with some ragged ass pieces of meat like I did, and after a 4-hour smoke, you want to finish them off in the oven, wrapped up with some braising liquid? (beer, applejuice)
Well, here are my suggestions, based on years of trial and error. It may sound excessive, but trust me on this one, if you’re trying to get a perfect seal and prevent your precious fluid from dripping out all over your stove, follow my advice – no shortcuts. You are essentially ‘slow braising’ these pieces of meat, and if liquid leaks out, your shit will be dryer than a fart in the Sahara.
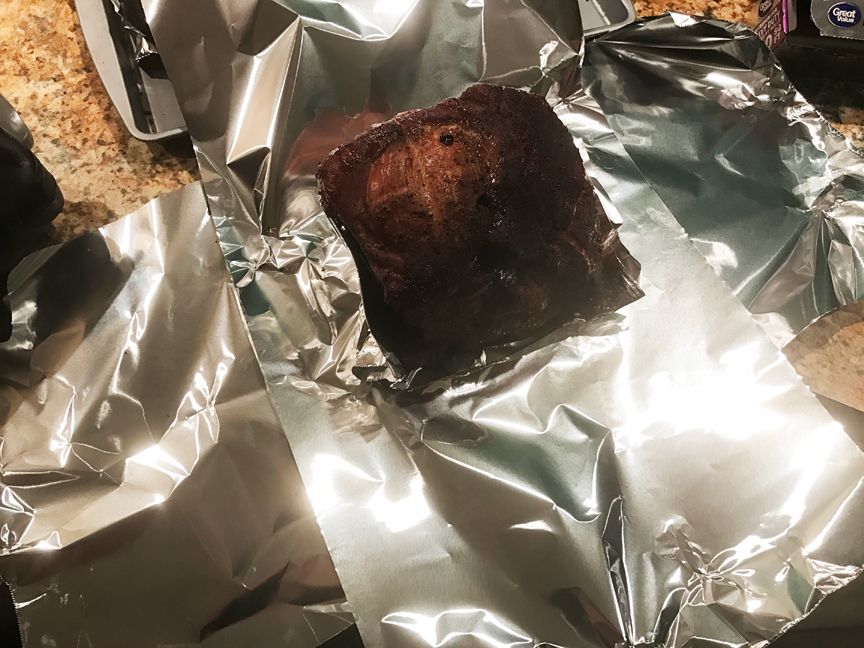
First thing you do is inspect your ragged ass piece of meat for ‘sharp points’. 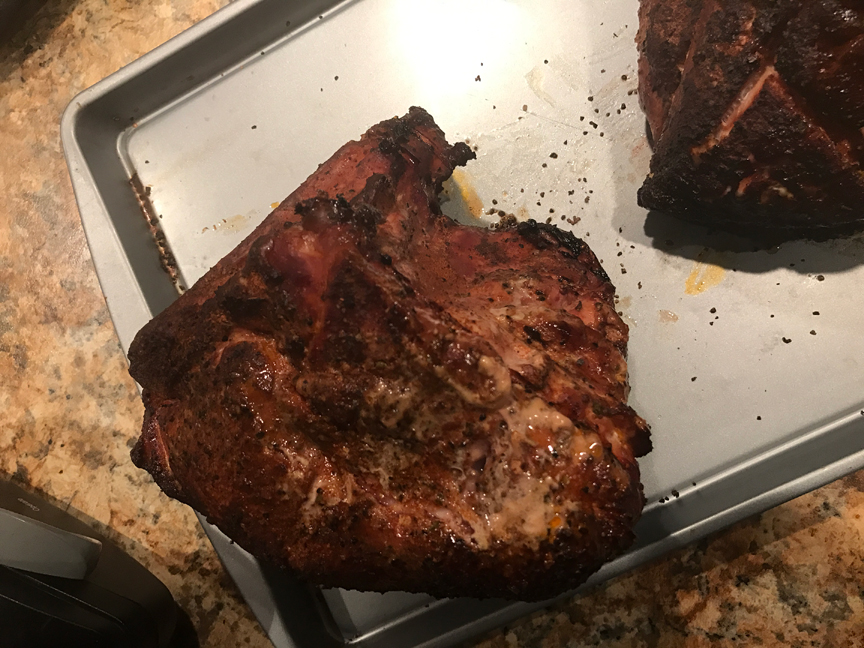
That gaping hole where the tenderloin should have been, and bone area is an area that can poke through your aluminum foil – no matter how many layers you put on it – so you want to create some protection. Start with a large amount of foil folded up into a 5-6 layer section, about the same size as the area you need to protect, and clasp it to the sharp point area.
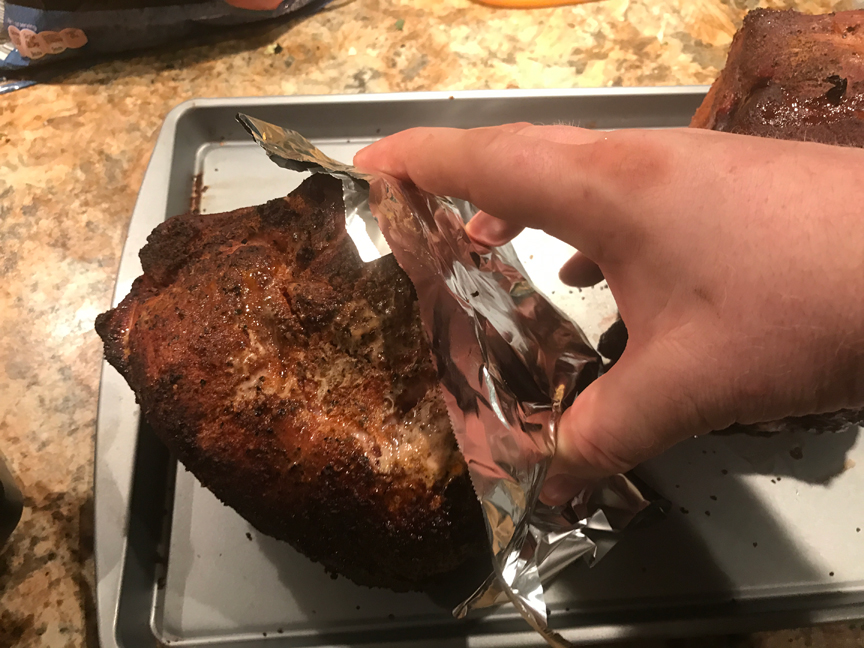
This will serve as a protective barrier for your layers to come
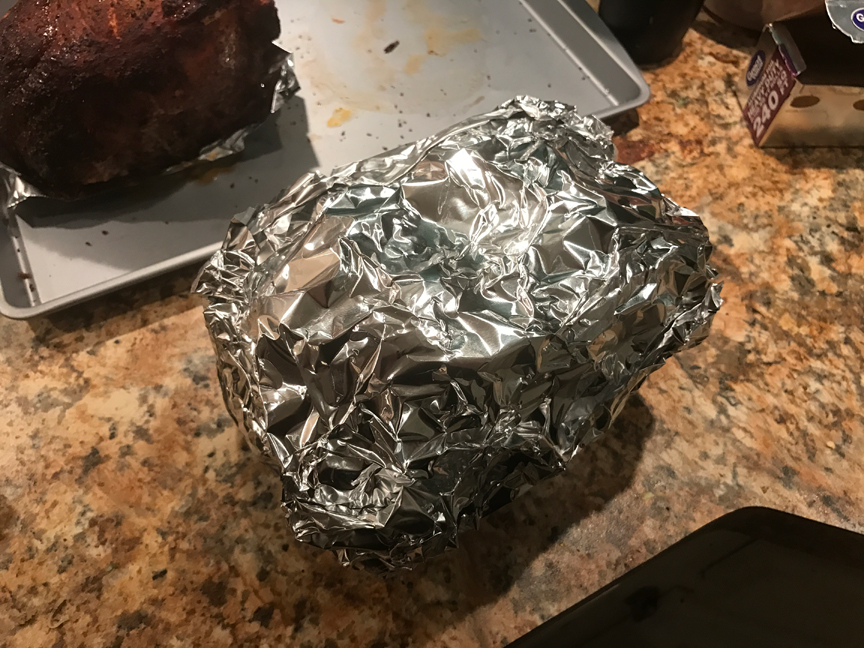
The following is what I do with the smaller aluminum – I create a large plus sign –

From there, I place the meat, shield side down – right in the middle.
From there, I will mold the foil – very carefully up and over the meat. Loose is ok, it doesn’t need to be super tight, but keep it close, and be careful. Once I feel good about that, I will lay another plus sign of aluminum over the top – and wrap that over and down under the meat – paying very close attention to which is the ‘top’ and ‘bottom’ – you do not want to get things turned around, be careful. One last length of aluminum starting from the bottom up to the top and we’re done.
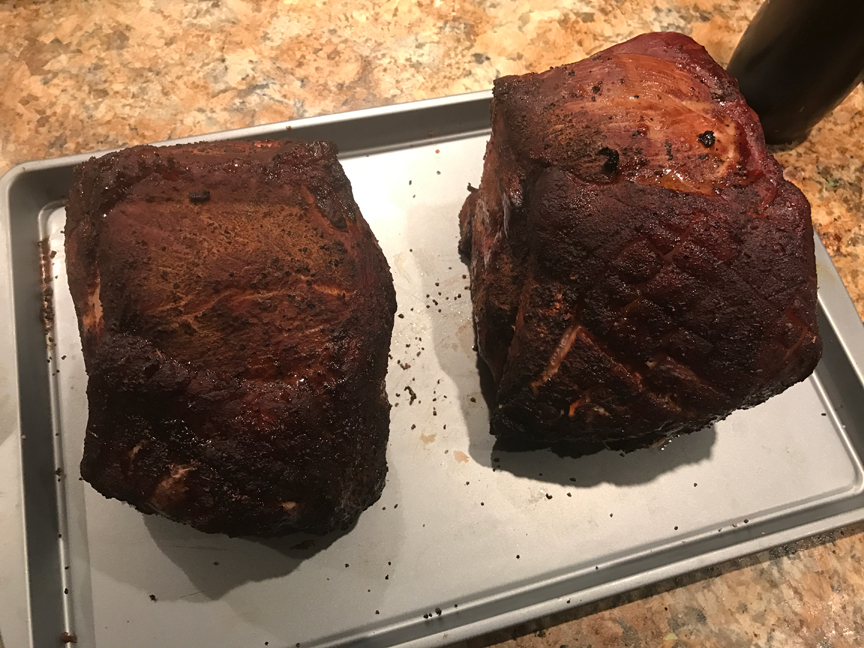
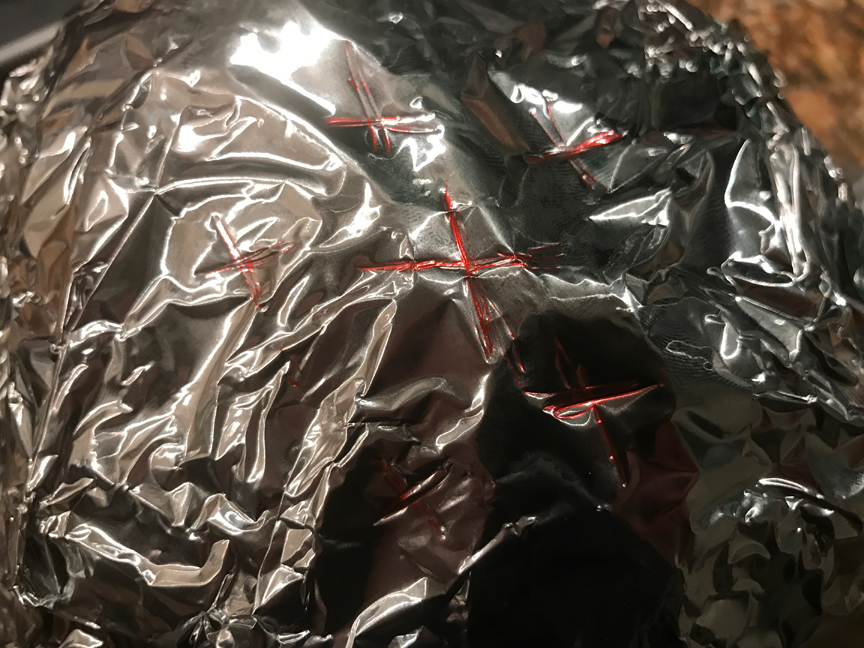
A slow, gentle molding of the foil is done at this point, to get it as tight as possible without puncture. I know I’ve only shown 2 of my 3 roasts, the 3rd I only put salt and pepper on, because I was sharing this meat at work, and a couple people have some food allergies that can knock them out for a week if they don’t watch what they eat – I wanted to make sure they could have some! – I marked that one with red Xs so I would know which one was the special one.
Last, important step: do NOT put these foiled up meats directly on your rack and ‘set it and forget it’. Place each pod into a baking dish / lasagna pan, and put about an inch of water in it. You put it in a baking dish just in case you spring a leak – it will be contained. You put water in the dish so that if it does leak, it doesn’t burn up and fill your house with alarming aromas. Often times, I’ll let my wraps go super low and slow overnight to pull in the morning – But you’d be surprised at how fast you can wake up scared shitless from a deep sleep once the smell of scorching meat juice hits your nose.
Good luck!