
One of the things I also learned from the movie ‘Steak Revolution’ (trailer link here) was the importance of dry aging meat – specifically loins of beef that would eventually become steaks. From Peter Luger to the Spanish guy with his 14 year old dinosaur cows – dry aging was a means of taking a cut of beef to the next level. But they make it look like a daunting task – having a very specific cooler setup, minimal oxygen, minimal bacteria yadda yadda.. Oh but some bacteria is ok, and yeah you cut some stuff off, but aye yayae – I certainly don’t have the means of pulling off dry aging in my home, and I’m certainly not crafty enough to building something.
But eventually, as YouTube always does – I went down the wormhole. This time, it was the ‘how to dry age beef at home’ worm hole, that lead me to learning about Umai bags. Umai bags are scientifically formulated (I guess) bags that allow water to escape without allowing oxygen and bacteria in. This is achieved with vacuum packing (to a degree) and some ample space in your refrigerator. (Link to Umai bag website here) Anyways – tons of videos online showing more, showing tips, hints and results. I was sold – bought a 5 pack – which arrived today! And looked like this when it showed up:
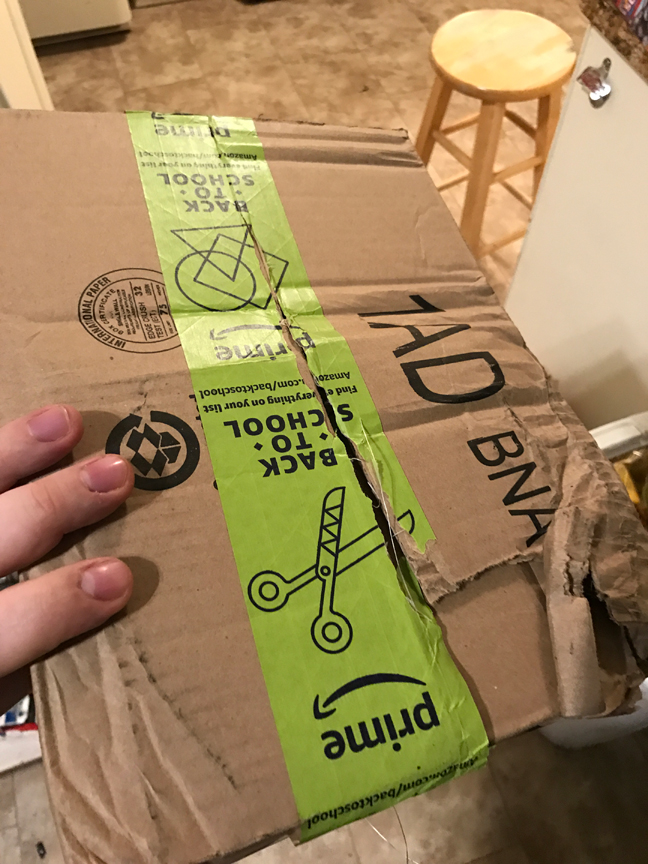
Oh I hope the bags weren’t broken! Ok wow – totally could have shipped this in a padded envelope – but ok!
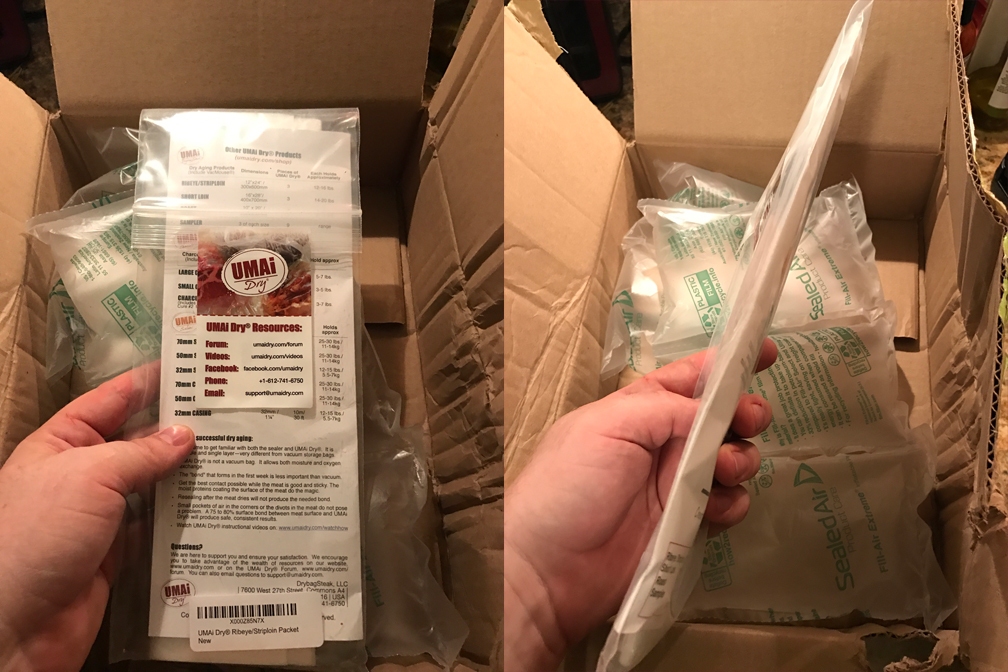
Here’s what you get in your 5 pack:
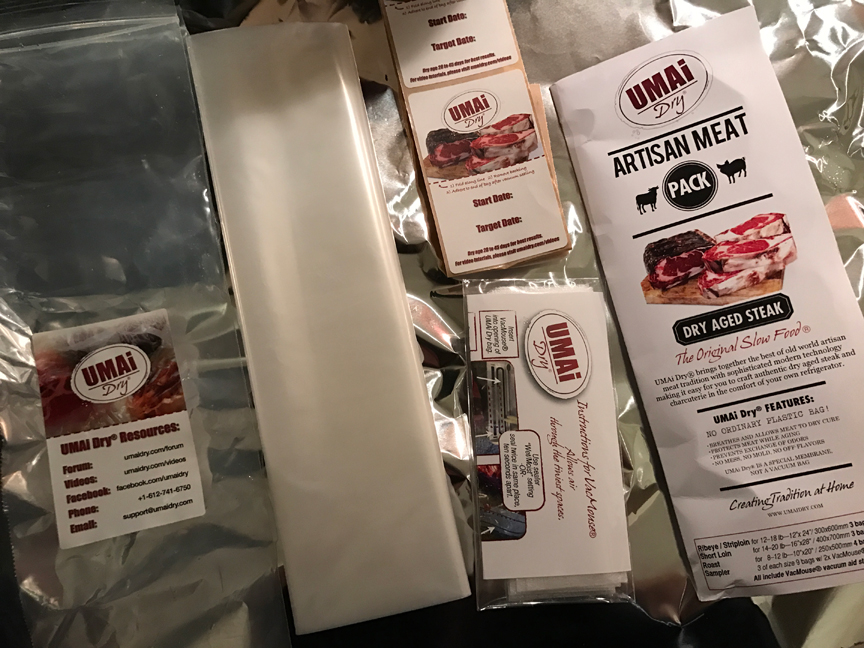
You don’t see it in the above image, but they only gave me 3 decals for my bags, which means maybe they think I’m going to screw 2 of the 5 up ?? I don’t know.. Let’s look at the instructions!
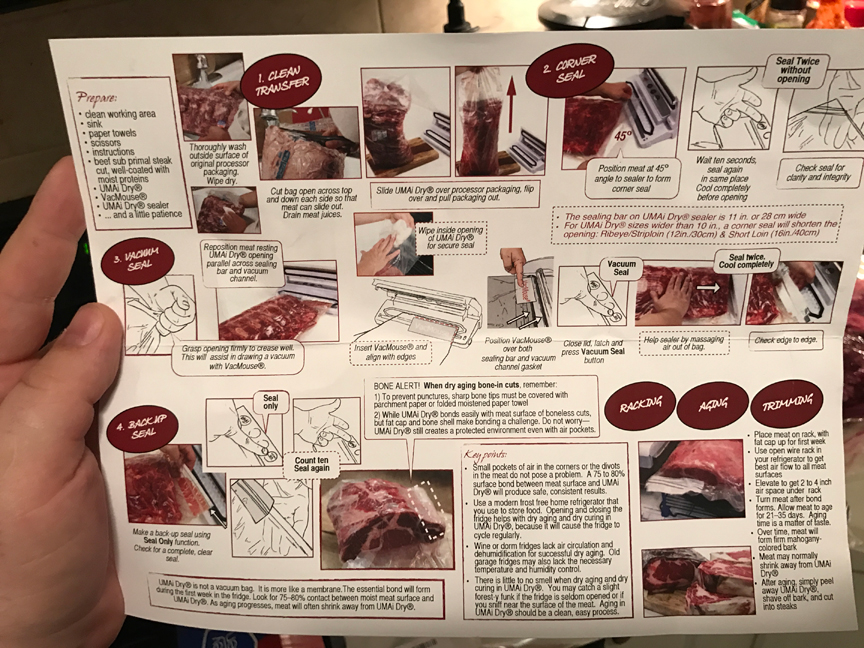
A little daunting, but I have already watched a ton of videos on this process, so I feel pretty confident about what to do.
Let’s look at the MEAT!
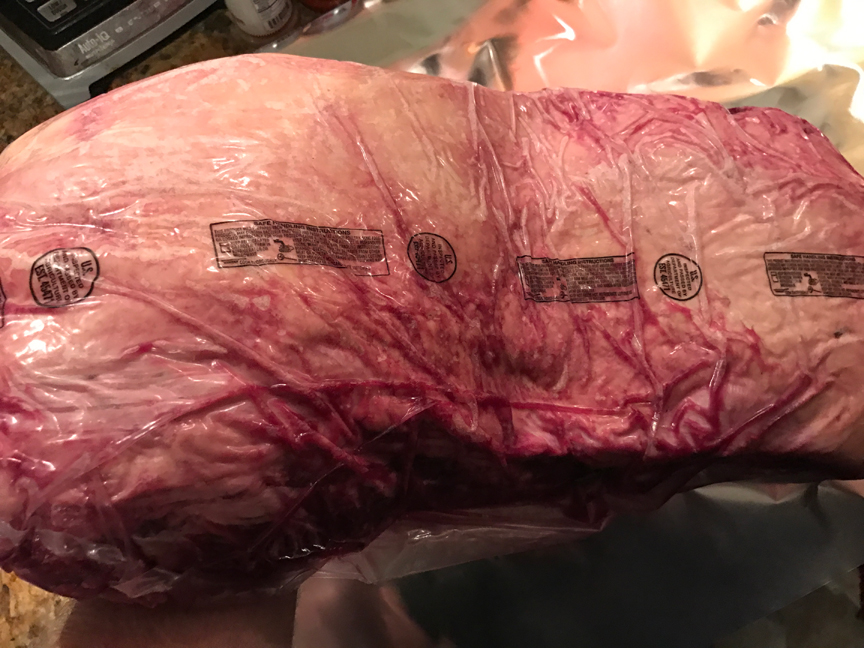
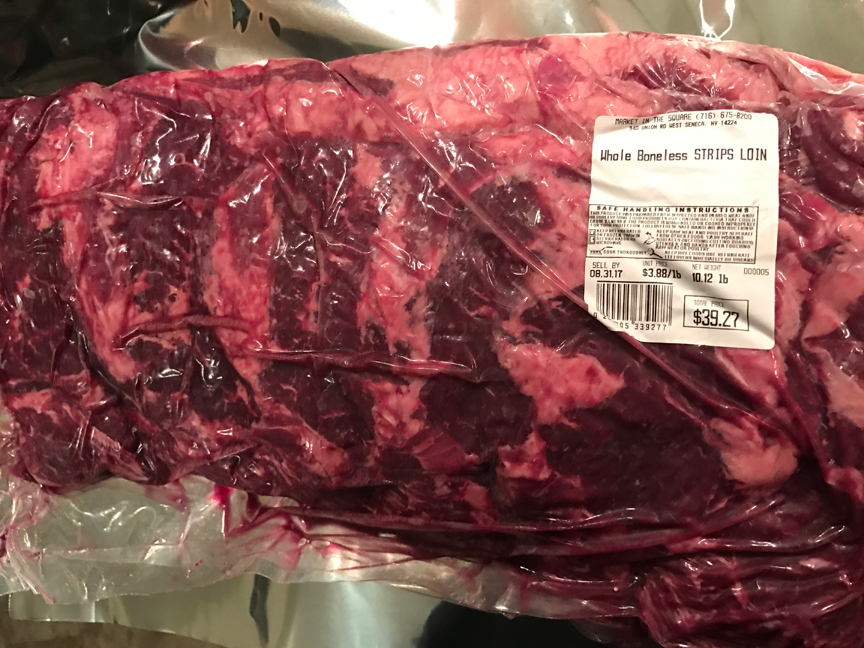
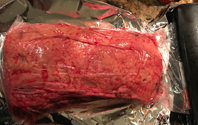
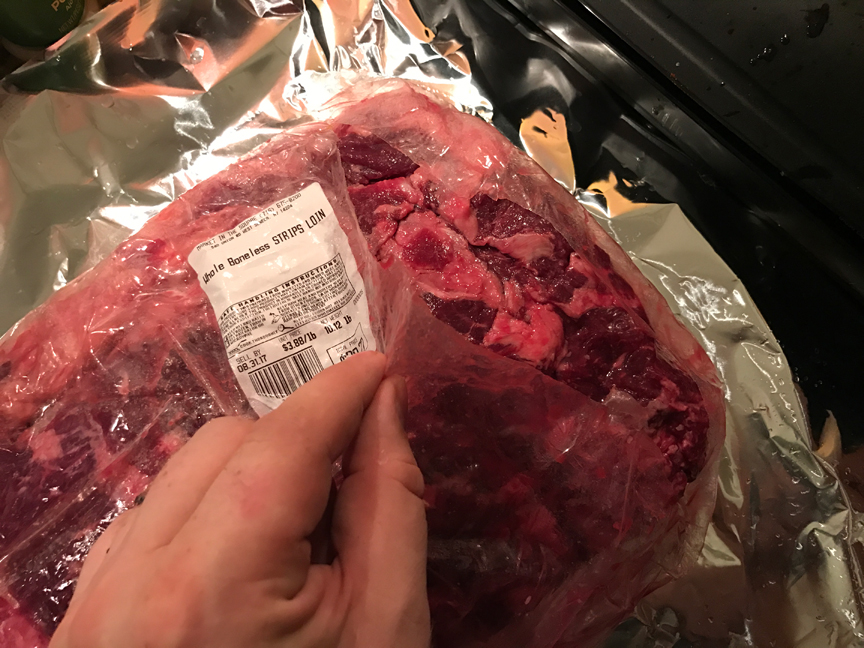
Yeah – you read that right! $40 strip loin:
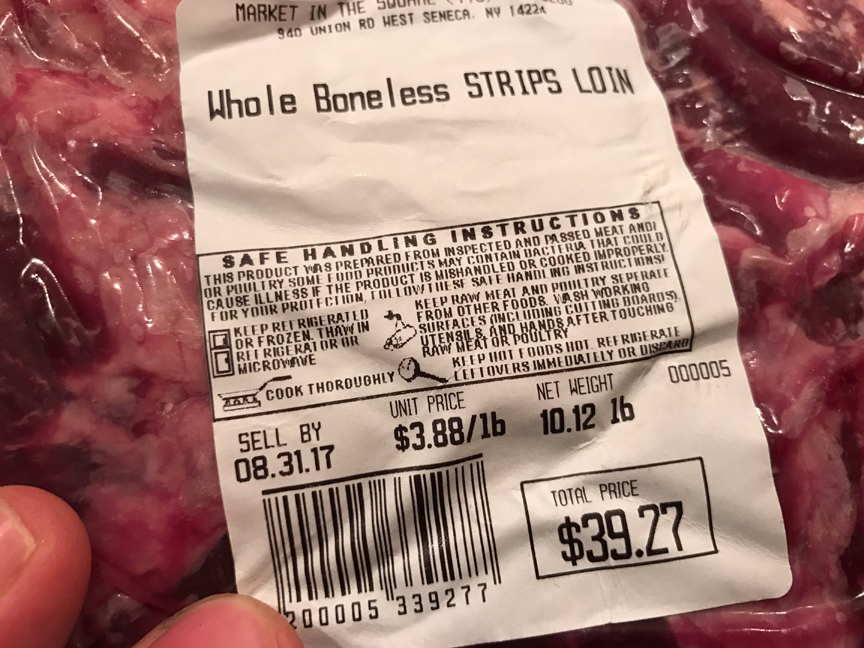
Choosing a strip loin can be a scary task – I’ll cover that in my next blog.
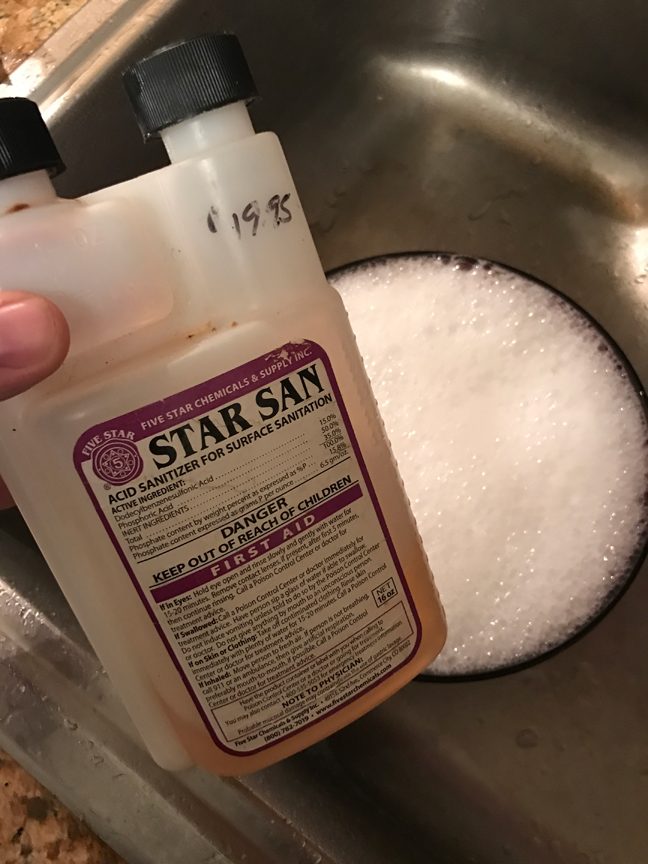
Ok, so the main thing about getting the meat in the bag is this ‘clean transfer’ method. First step is to sanitize the outside packaging of the meat you bought. I know all about the sanitizing business – I broke out the Star San! I whipped up a small batch:
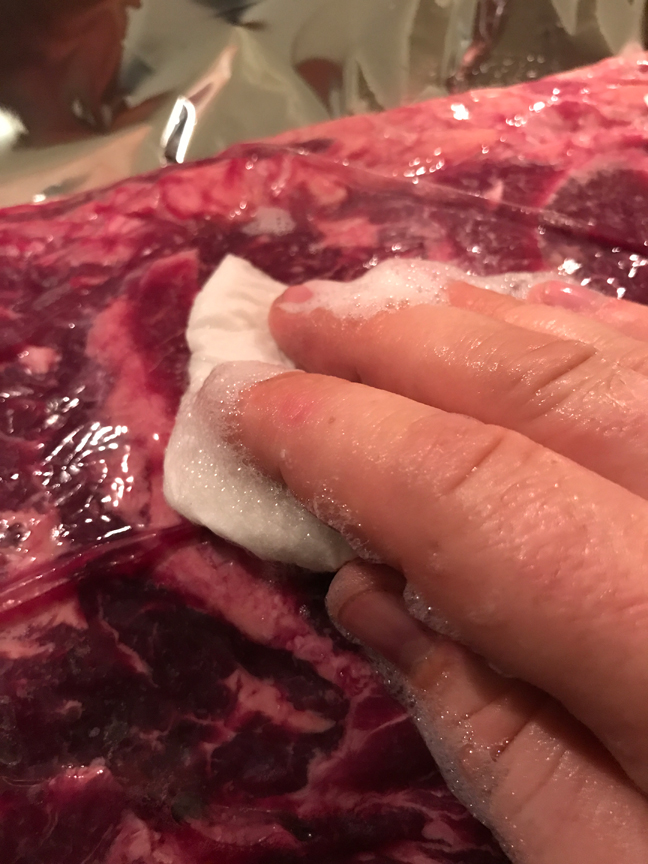
I laid a nice layer of aluminum foil down on my counter, because I can’t 100% trust my counter – sorry.. I laid the meat on the aluminum and wiped both sides down!
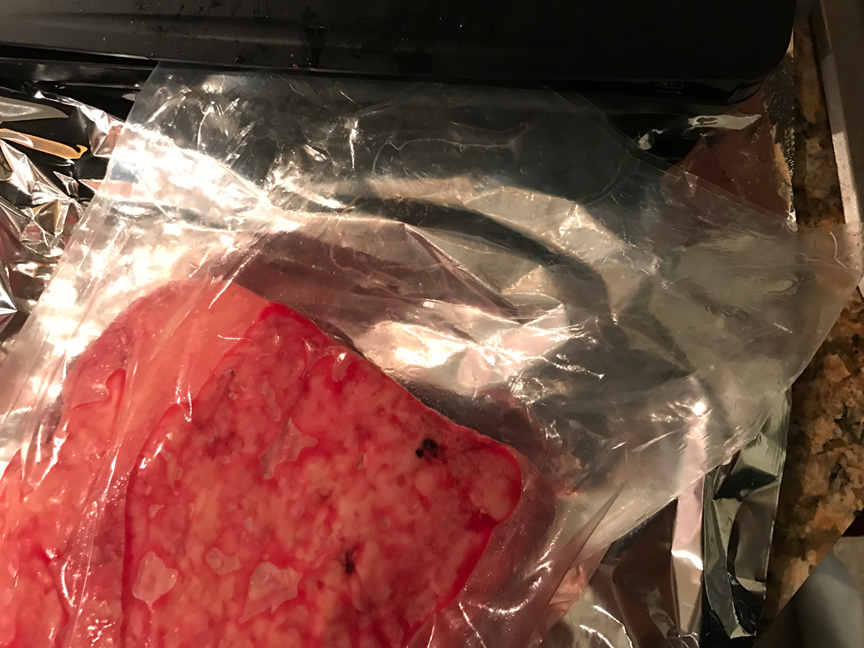
Once all wiped down, I chose an end to serve as the ‘bottom’ and cut it open – the aroma was a little gassy coming out of the cryovac – but that’s normal for this, it’s not bad meat!
Once cut open, I slid the whole package of meat into an Umai bag – cut side first.. then stood it on end:
![]()
Once in, I pulled the cryovac packaging out off the meat – allowing it to slide right into the Umai – transfer complete!
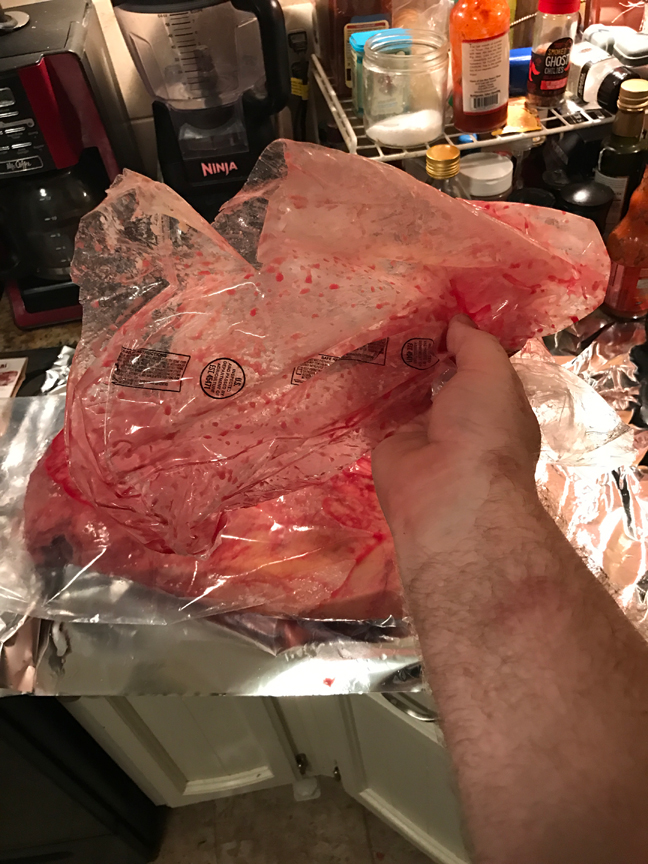
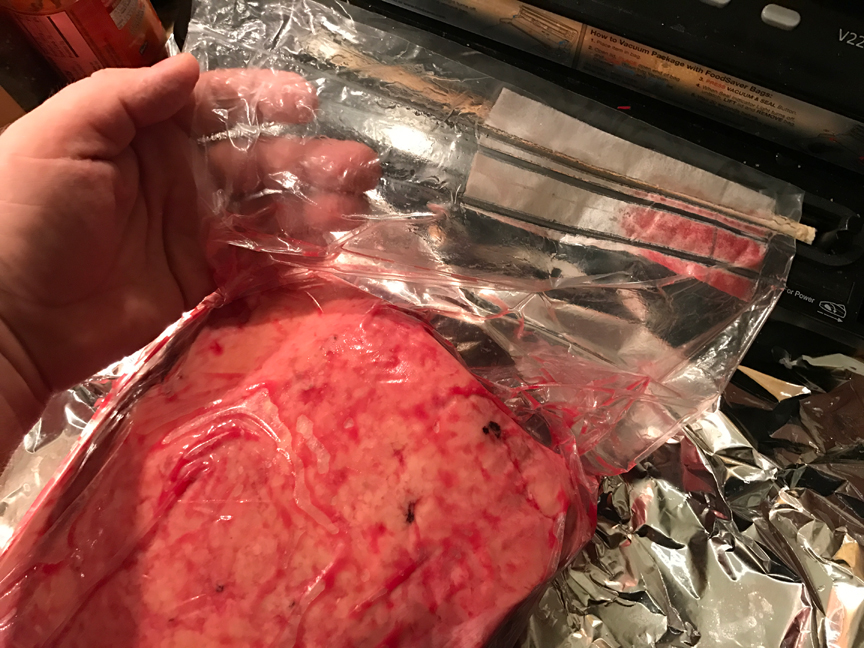
Bloody bag in the trash – then it was time to do the fancy corner seal
The bags are a little bigger than normal vacuum sealers, so you seal the corner, throw a little insert in the remaining area – then drop a bunch of seals on it to make sure you don’t screw up the seal on its way to the fridge. You smush all the meat to one side – so the air has a channel to follow, this bag is not like normal vacuum bags, so you need to finesse the air out while your machine sucks.. that came out wrong – but here we go;
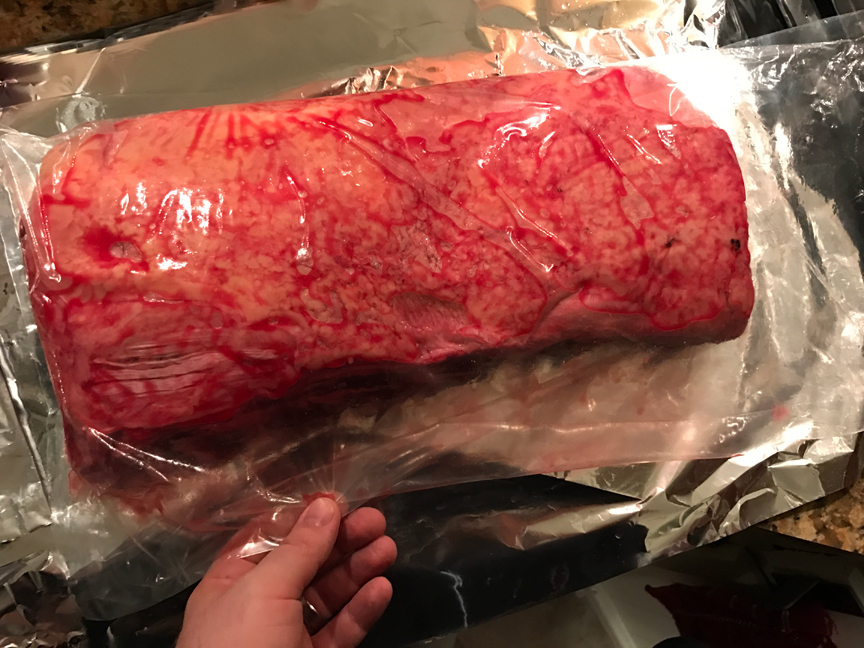

The goal is the make the bag stick to as much of the beef as you can. I did it with the fat side up, because I felt that the weight of the beef would mash itself into the bag on the side I want it to adhere to more – I think? shit I don’t know. Let’s seal the F out of the bag and take a look at the other side.
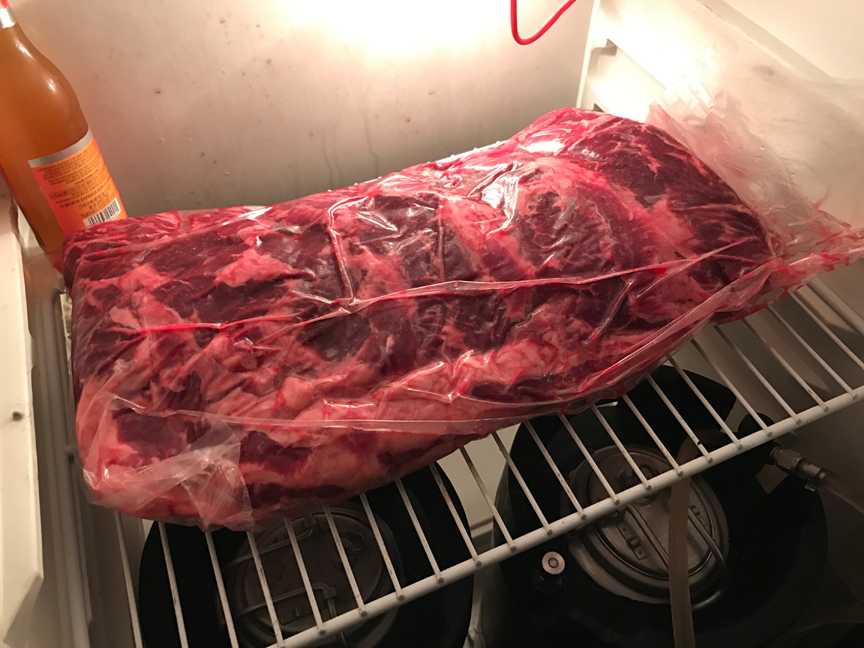
Damn look at that adhesion- good call on the fat cap side up!
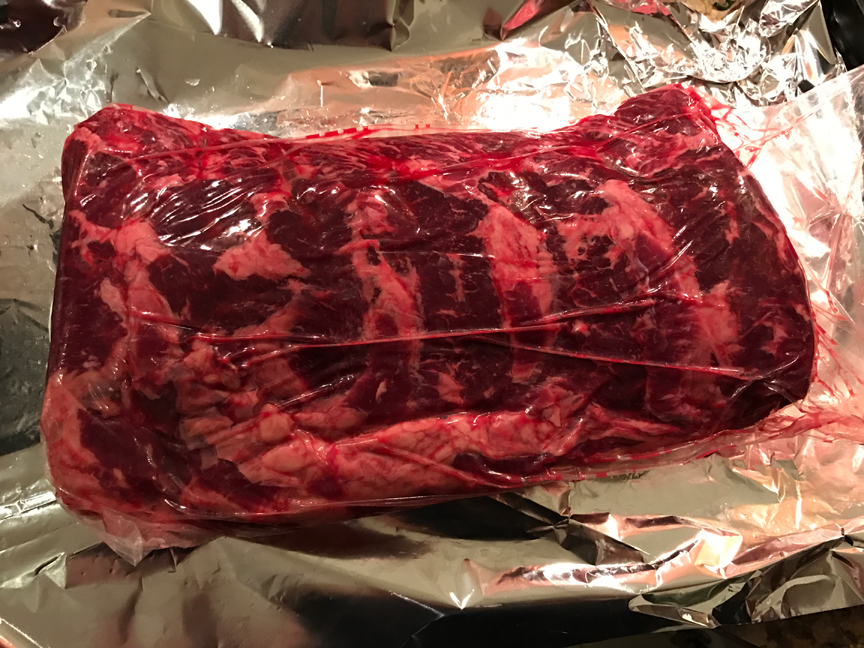
Ok – time to shove this thing into my beer fridge (because it has the racking unlike my normal fridge, and it won’t be in the wife’s way!)
I’m going to let this thing age for 45 days. Going to check on it daily, and flip it weekly. These will be birthday steaks for my birthday!
Hooray!