
If you're like me, then your eyes perk up every time you walk by the large, vacuum packed chunks of meat at your local wholesale place. Giant bloody bags of treats just hanging out just begging to be used for a variety of fun meat projects and adventures. Whole striploins, whole boneless prime ribs, eye of round, sirloins and whole beef tenderloins. Sometimes you just need to give into your fears and buy a giant chunk of beef and figure it out later.
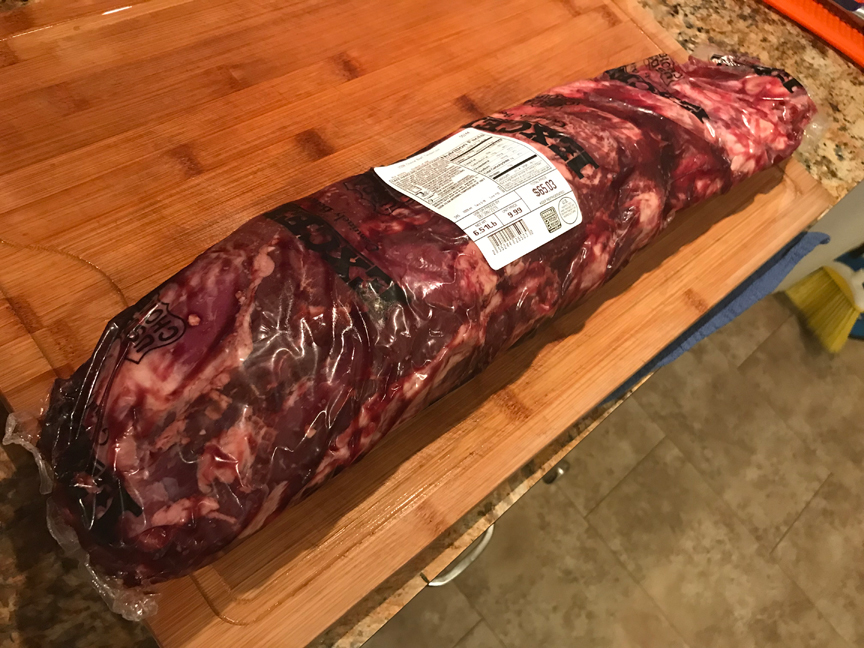
Recently, Aldi had whole tenderloins on sale for $9.99 a pound! So you know I had to give it a shot!
So this is what you get - a floppy bag full of blood and meat. - vegetarians beware!
So what do you do? Do you just open up the bag, slice it up and start cooking? Well, you could - but there is a process for dealing with a full tenderloin so that you have the best results on your plate. Reminder: I'm not a fully trained butcher, I'm just some guy who knows a couple buzz words and is too lazy to do full on research.
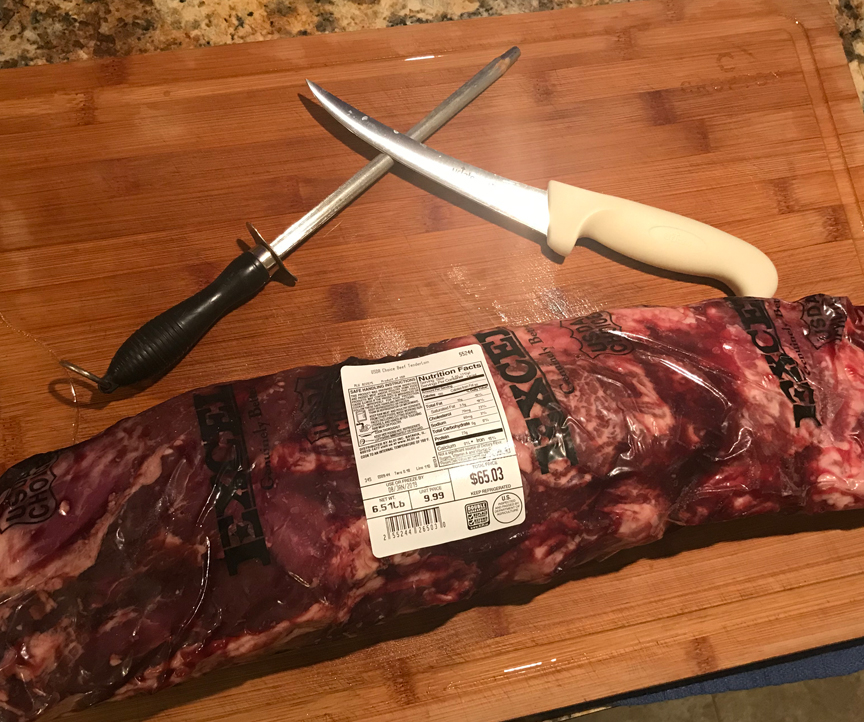
So the first thing you need to do is give your knife a solid sharpening. For this process I am using a restaurant grade boning knife - its shape and very sharp point really help when you're getting into the nooks and crannies, as well as when you're dividing sinew from the muscle.
Once you've got your blade razor sharp (use a stone if it's not) - it's time to get that bloody bag open! Remember, it is common for a 'cryovac' to release a gassy odor when you open it - be prepared for this, and know that your meat has not spoiled and that the smell will dissipate after a few minutes. Luckily, I did not get bowled over with a gas cloud when I opened this one, just rich beefy goodness!
To open these, I will pinch the bag at the top and make a small incision so as to not hit the meat, and allow for some air to get into the bag. Then I will slowly open the bag so that there is no spillage!
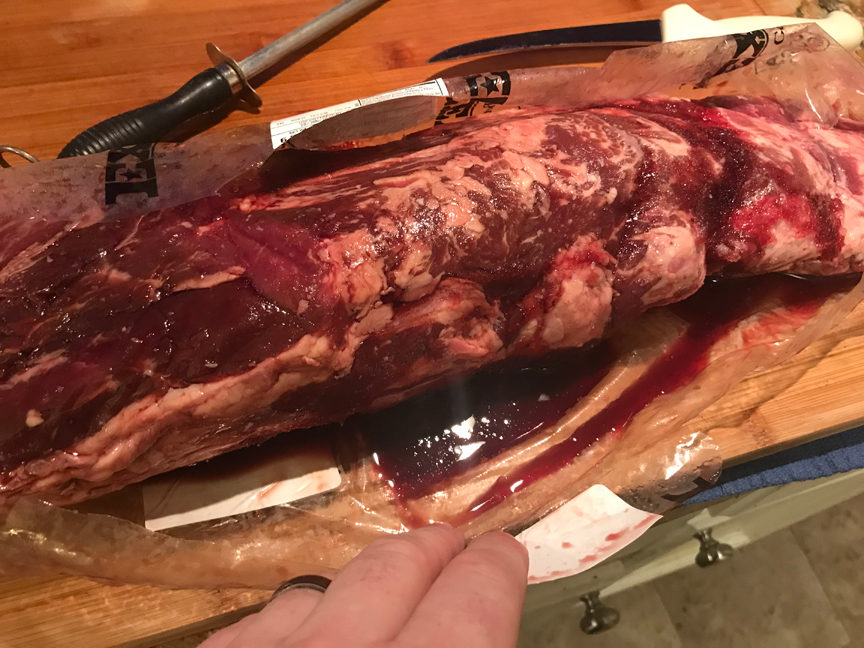
Then you carefully extract the meat, then carefully take the bag over to the trash so as to not spill that blood!
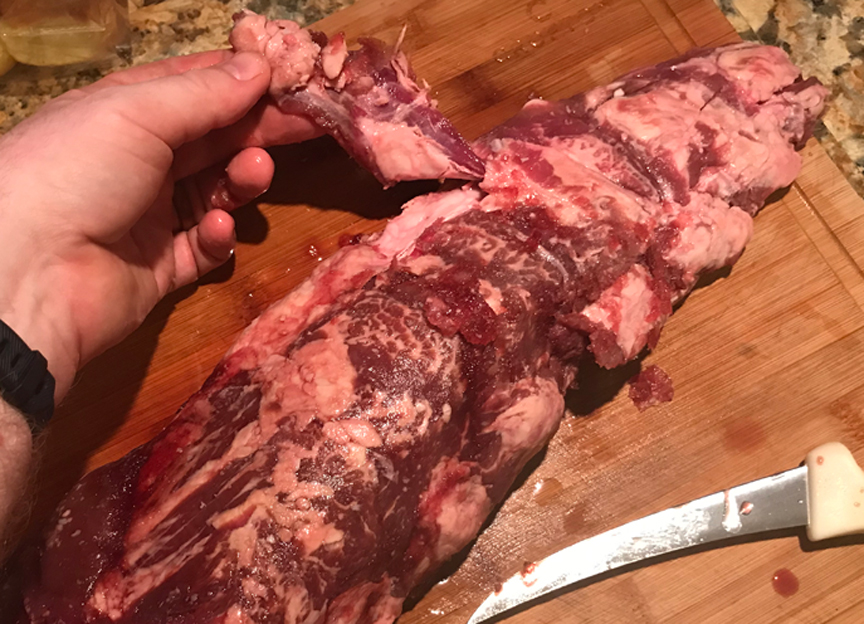
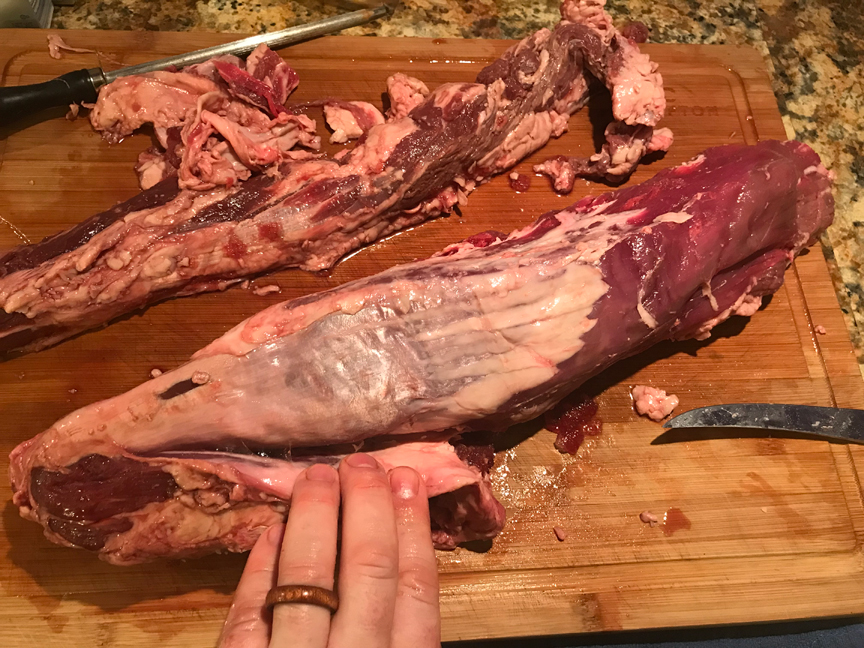
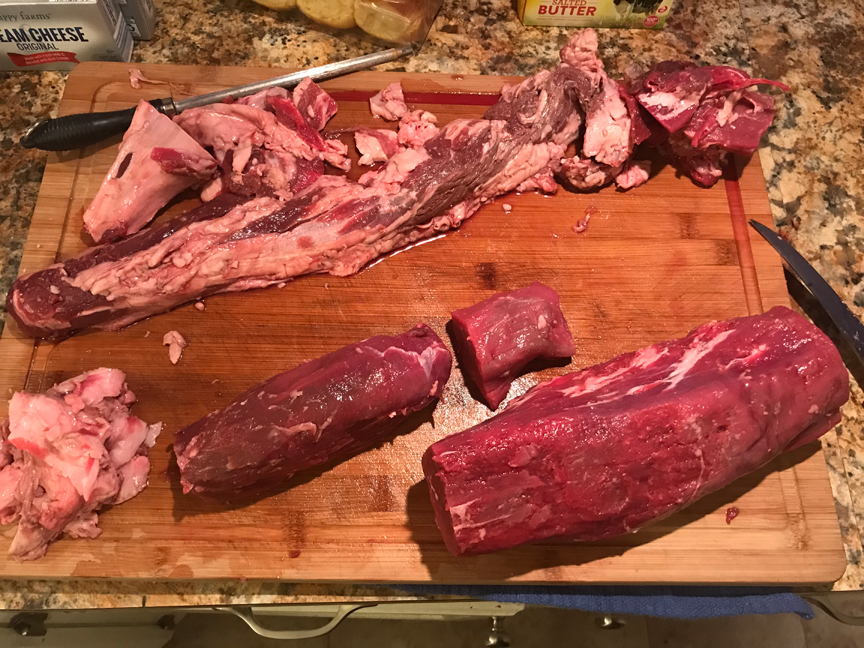
Now it's time to inspect your purchase. Run your hands over the meat and look for any loose bits hanging off, might be a mishap in the butchering process, or it could be a part of what's called the 'chain'. The chain is a piece of meat that runs along the side of the tenderloin and while it is great meat for burgers and stroganoffs, it is not what you think of when you think 'filet mignon'. In the image below, there was just a little extra flap of meat possibly from the sirloin, left on my piece.. It's ok, I just cut it off.
After a little more poking around with my fingers, I was quickly able to locate the 'chain'. The chain comes off pretty easily if you pull on it, but it is always a good idea to have your knife do the actual separations so you don't start pulling off stuff you don't want coming off! I followed the chain section all the way up to the narrow, 'front' portion of the tenderloin, then using my knife - slowly started pulling and cutting it away from the main section. Do not worry - this piece isn't going to go in the trash, most of it will be used for another project - but this is just something you want to do, trust me!
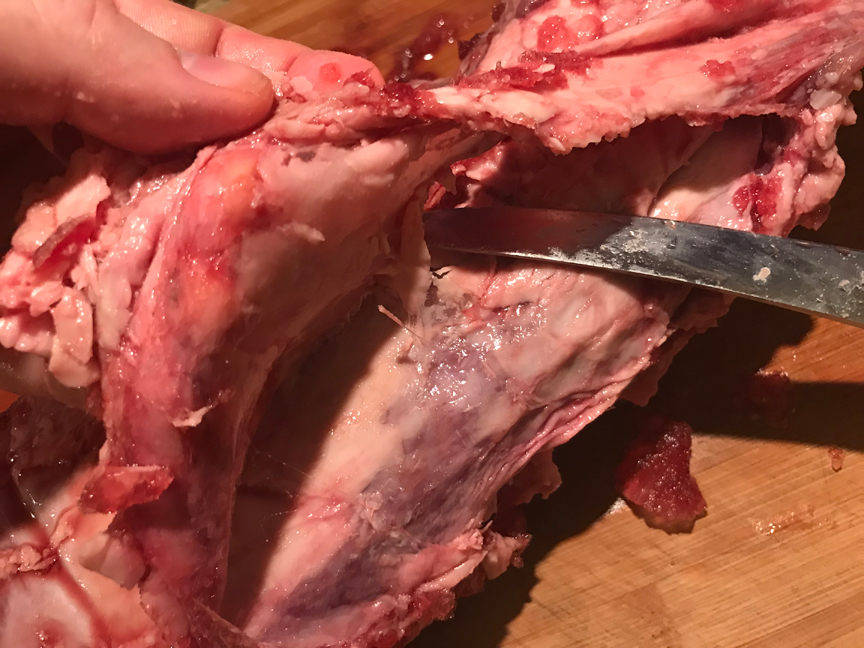
You're peeling it back, and using the knife to free it from the main section with quick little flicks of the tip of your knife. Peel and flick, peel and flick!
Slowly but surely, you'll begin to free it from the main section, and you'll start seeing the main portion that the steaks come from! So exciting!

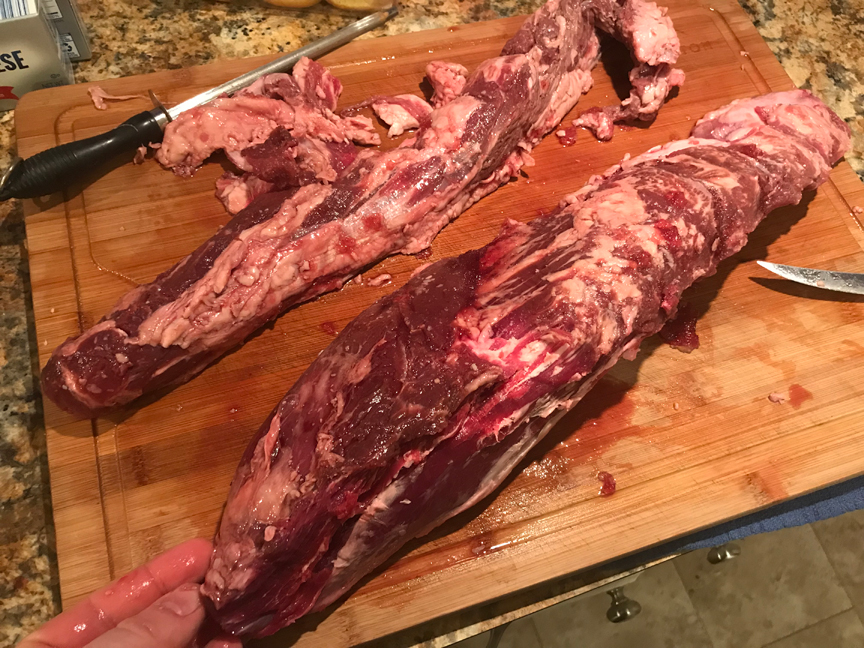
Eventually, you'll have two pieces of meat that were clearly never joined to begin with! Some butchers will engineer this trimming process to leave the thicker part of the chain intact with the main section - the reason for that would be if you were looking to make a large roast out of the tenderloin that you would serve whole at a party. I've actually seen a roast where two tenderloins were tied together in a '69' fashion - it was remarkable, but ain't no one got that kind of money here.
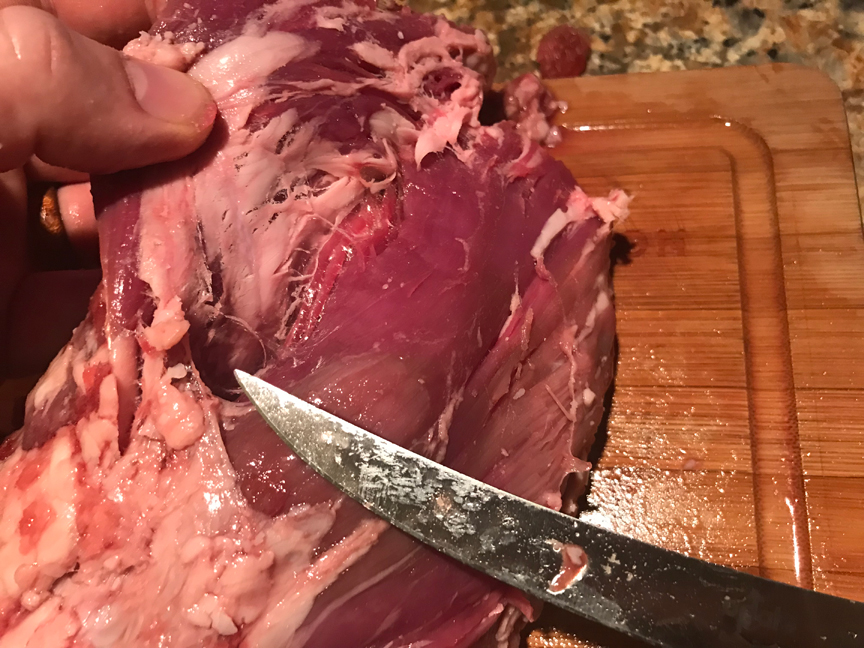
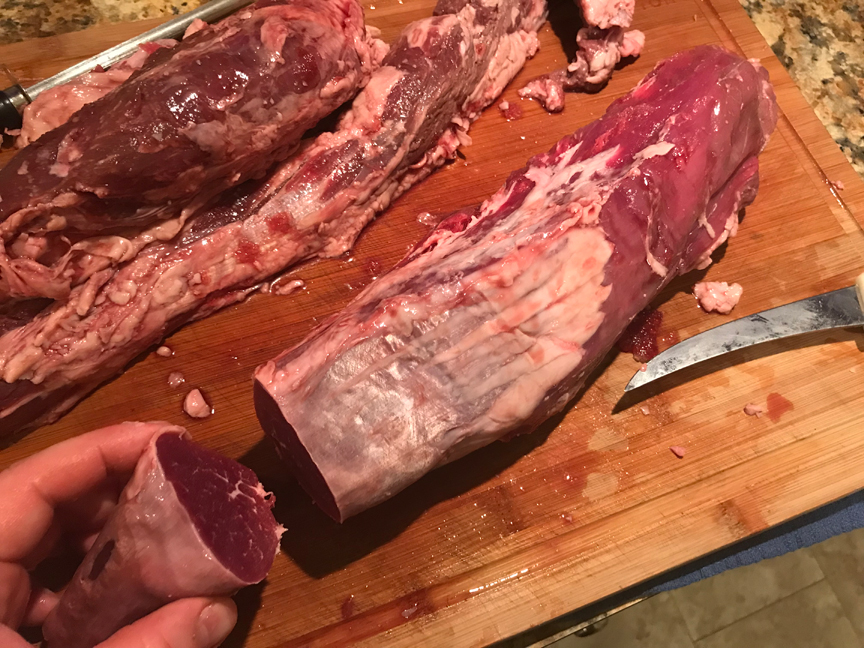
If you were in a hurry, you could now take this piece of meat and slice it up into 2" thick steaks, grill them up and serve, but that's not how I roll, so let's get into the next step. Upon inspecting the main portion of your tenderloin, you will notice another lobe of meat towards the thick end. This is really good meat, but again, if you're slicing this thing into Filet Mignon - the steak might look nice and big, but it's going to be in 2 sections, and could even fall apart in the cooking process if you're not careful. I'm going to take mine off, because I actually have plans for it. This comes away from the main section just as easy, if not easier than the chain - peeling back and making small cuts with the knife to separate.
Now you can REALLY see the main 'mignons' portion on the larger piece in the picture below - if you divided that main piece into 4's, the two middle sections would be ideal for cutting into steaks and serving up proudly like you knew what you were doing. But we're still not finished.
At this point, I sectioned off that middle section - removing the 'tails' as I call them - leaving me with a fat filet mignon roast that my 'high end' projects will come from - the piece in my hand and the pile of trim in the top left corner will go into my 'other' projects. I can't say 'low end' projects because it's fricking beef tenderloin - there is no 'low end' here folks - this is high class eating, high class texture, tenderness and flavor through and through - if it's not fat or sinew, it is the highest quality piece of meat from a cow !
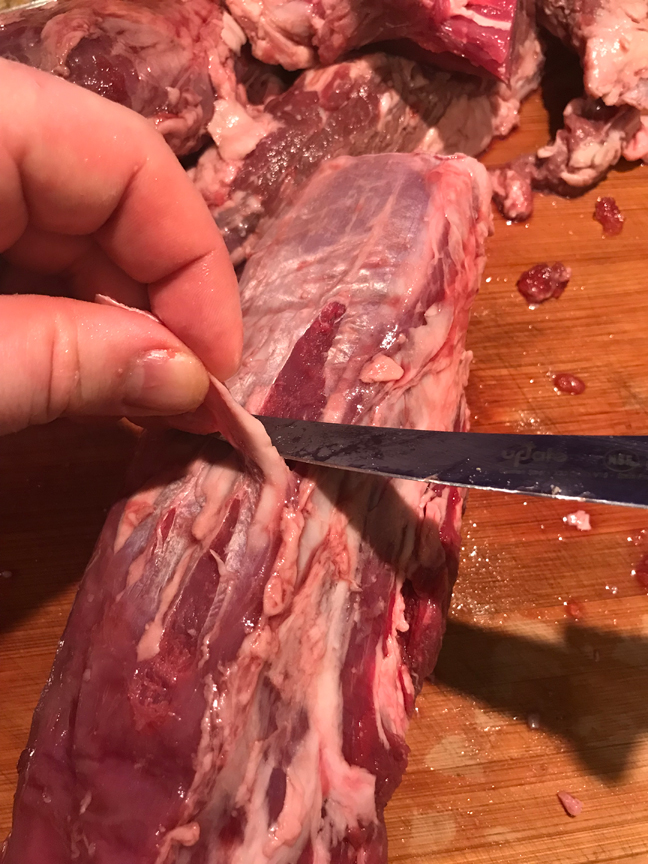
Now comes the part where you really put your sharp knife to the test - silver skin removal. Yes you can slice the chunk above and serve it, but that shiney white pearlescent covering will turn into a small bite of grizzle that will end up on the sides of your guests' plates - it's gotta go! Using the tip of your knife, come in from the side like you're attaching a pin to your coat. Then bust the knife out to create a flap - pull on the flap and use the knife to separate the skin from the muscle. This takes practice and patience. Once you get it started, you can use the new opening to eventually get the rest of the skin off - the knife needs to be sharp!
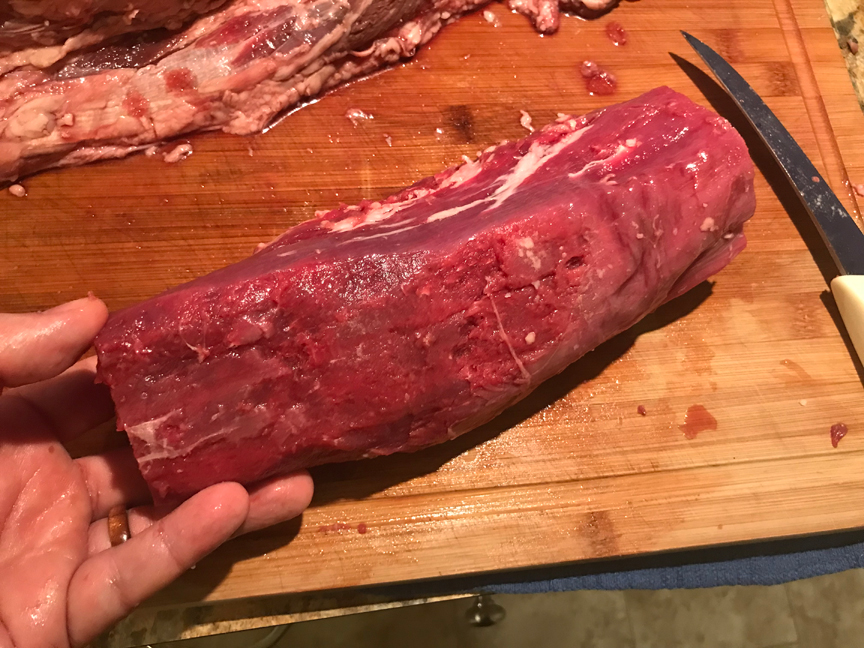
Eventually - boom - you have a high end piece of meat that's free of silver skin and ready to be busted into steaks! From this piece, I would cut 5, 2" steaks. If I was entertaining more than 5 people for dinner and I wanted everyone to have a super high quality filet, I would have to get another tenderloin, or carefully but the fat end up so I got an additional 1-2 pieces.
Using the silver skin removal technique, you can clean up the chain and the other lobe to use in other projects! At this point in the game, I'm starting to make 'trim' and 'garbage' piles - there are small pieces of meat and great fat that could be ground up into a burger, and I fully intend on doing that with the leftovers from this tenderloin. But the silver skin - that's gotta go! That is NOT good eats and can go in the garbage.
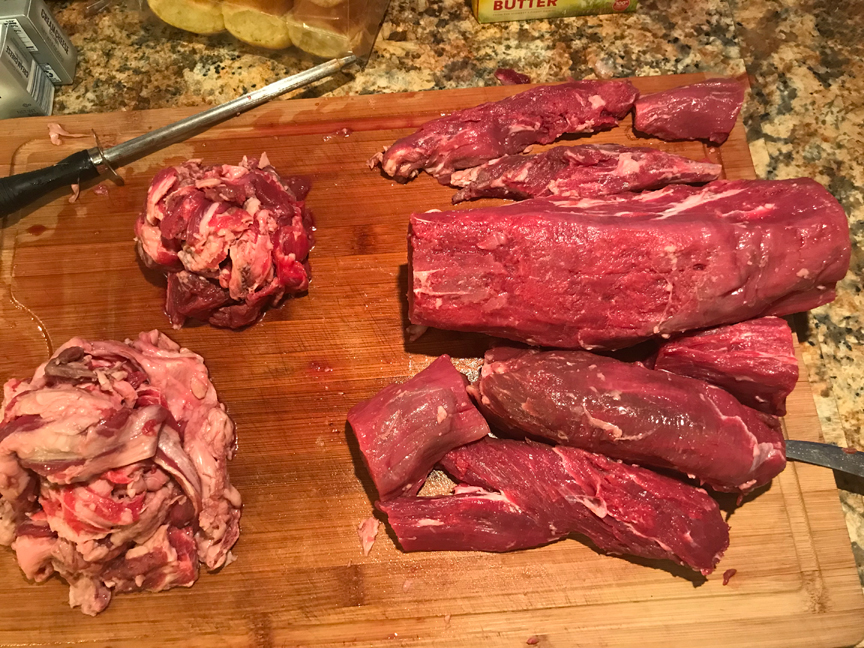
Eventually, you could end up with something like this! Bottom left is garbage, top left is going to become the best burger I've had in a while, and all the pieces on the right have great potential!
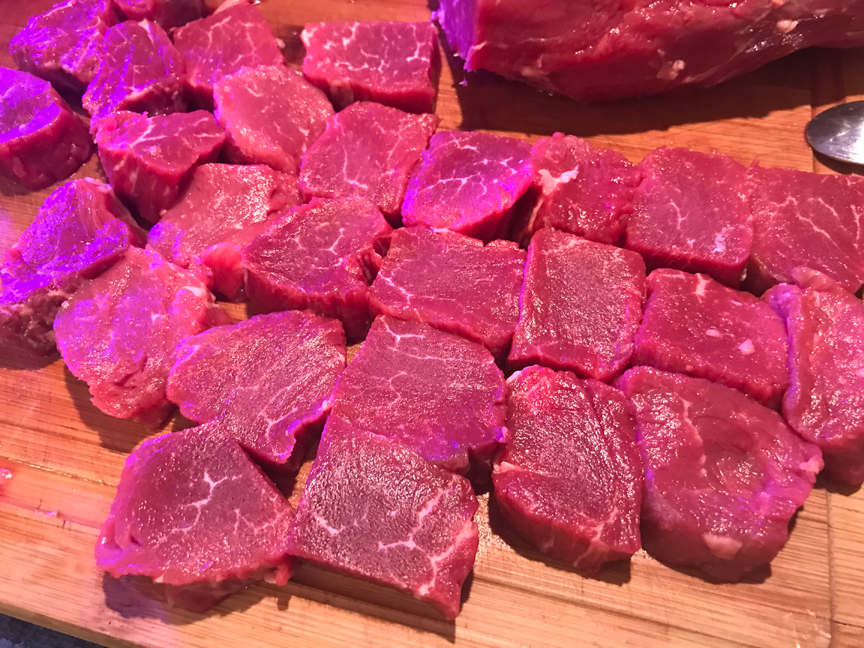
I take all the smaller pieces and cut them into evenly sized sections for a project I'm going to post about later..
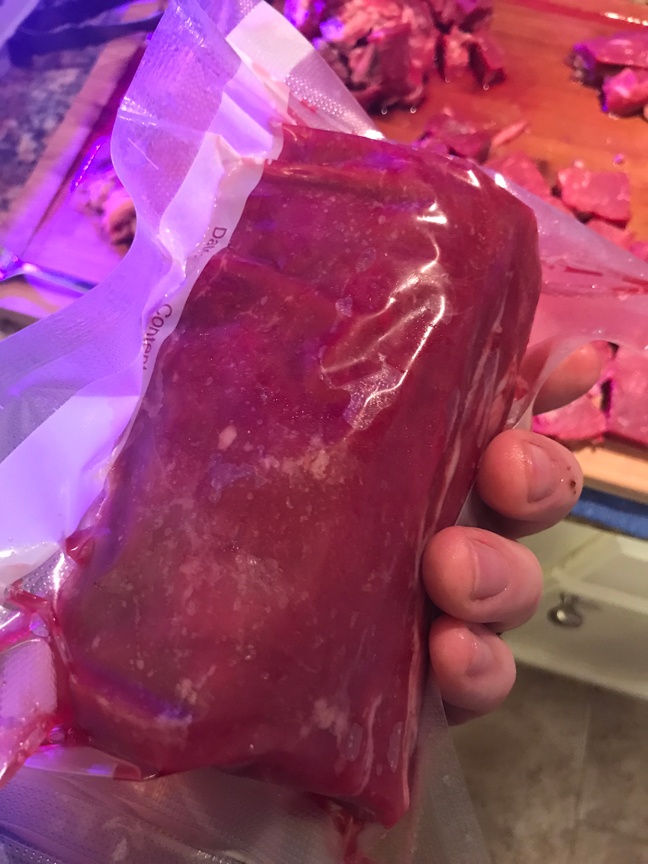
And I take the large piece I had and vacuum pack a 2lb section for another project.
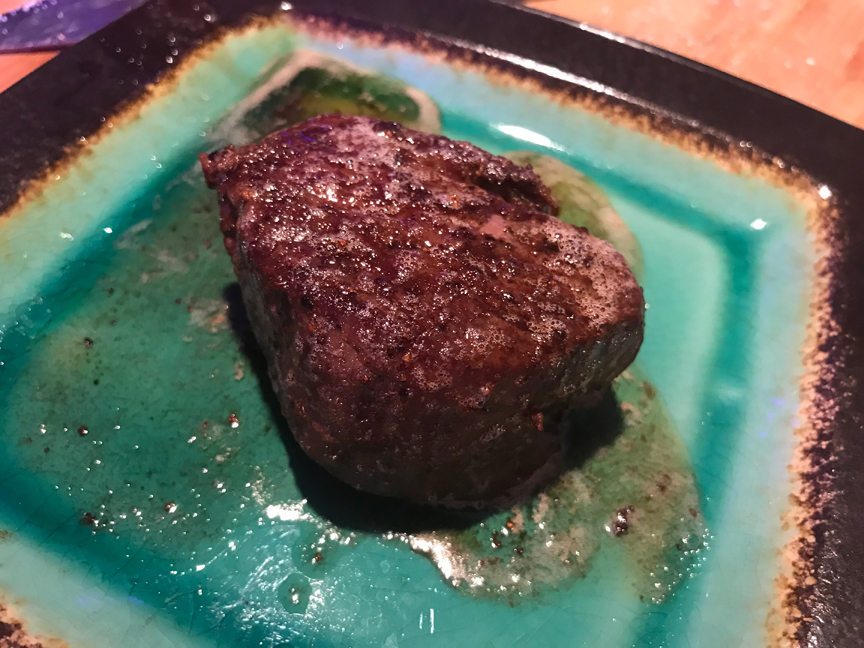
And of course, I earned myself a little treat - so I pan sear a mignon to enjoy and reward myself for about an hour of screwing around with this piece of meat. It's fun! don't be afraid to give it a shot. Sharp knives and persistence - you can do it!